Shanel Wu
They/them. PhD student: smart textiles, weaving, computational craft, hardware hacking.
Loom Pedals V1 - Physical Design
by S
At the end of the Fall 2019 semester (yeesh, so much has happened since then), I and my classmate in the EID course had built a prototype set of three custom pedals for the TC2. This was for the course’s final project. Most of our development time was spent on programming a GUI to be run on a Raspberry Pi, as the project requirements involved “plumbing” several software integrations. This blog post will just focus on the physical design and hardware components of the pedals.
Pedal Functions
The three pedals were configured for three separate functions in the interface: FORWARD, REFRESH, and BACK.
- FORWARD - advance the weave file to the next row/pick.
- REFRESH - stay on the same row/pick of the weave file; the shed will close, but the loom will reload the same pick when it reopens the shed.
- BACK - go back to the previous pick in the weave file.
One piece of “design wish” feedback we gathered in the initial research stage of the project, from an intermediate/experienced TC2 user, was to add more pedals to the loom. Rather than having to go to the computer interface and clicking things to switch the flow of weaving (e.g. needing to go back in the draft because of a mistake), the person wanted that to happen with a single pedal press, making that transition as fluid as advancing the file.
The REFRESH pedal also came from user research, along with some of my person experience. I’m incredibly frustrated when I run out of time when weaving a pick (e.g. weaving several brocaded shuttles, or I’m having terrible tension issues and need time to manipulate the threads), meaning that the vacuum times out and the loom stops the weaving. If I had anything in the shed, like shuttles, they get sandwiched in there. In the TC2 software, I also have to stop and restart the weaving, which is just a major disruption of flow for my ADHD. I wasn’t alone in this frustration, so we made the REFRESH pedal to effectively give the weaver unlimited time on a pick if they so chose.
Circuit Components
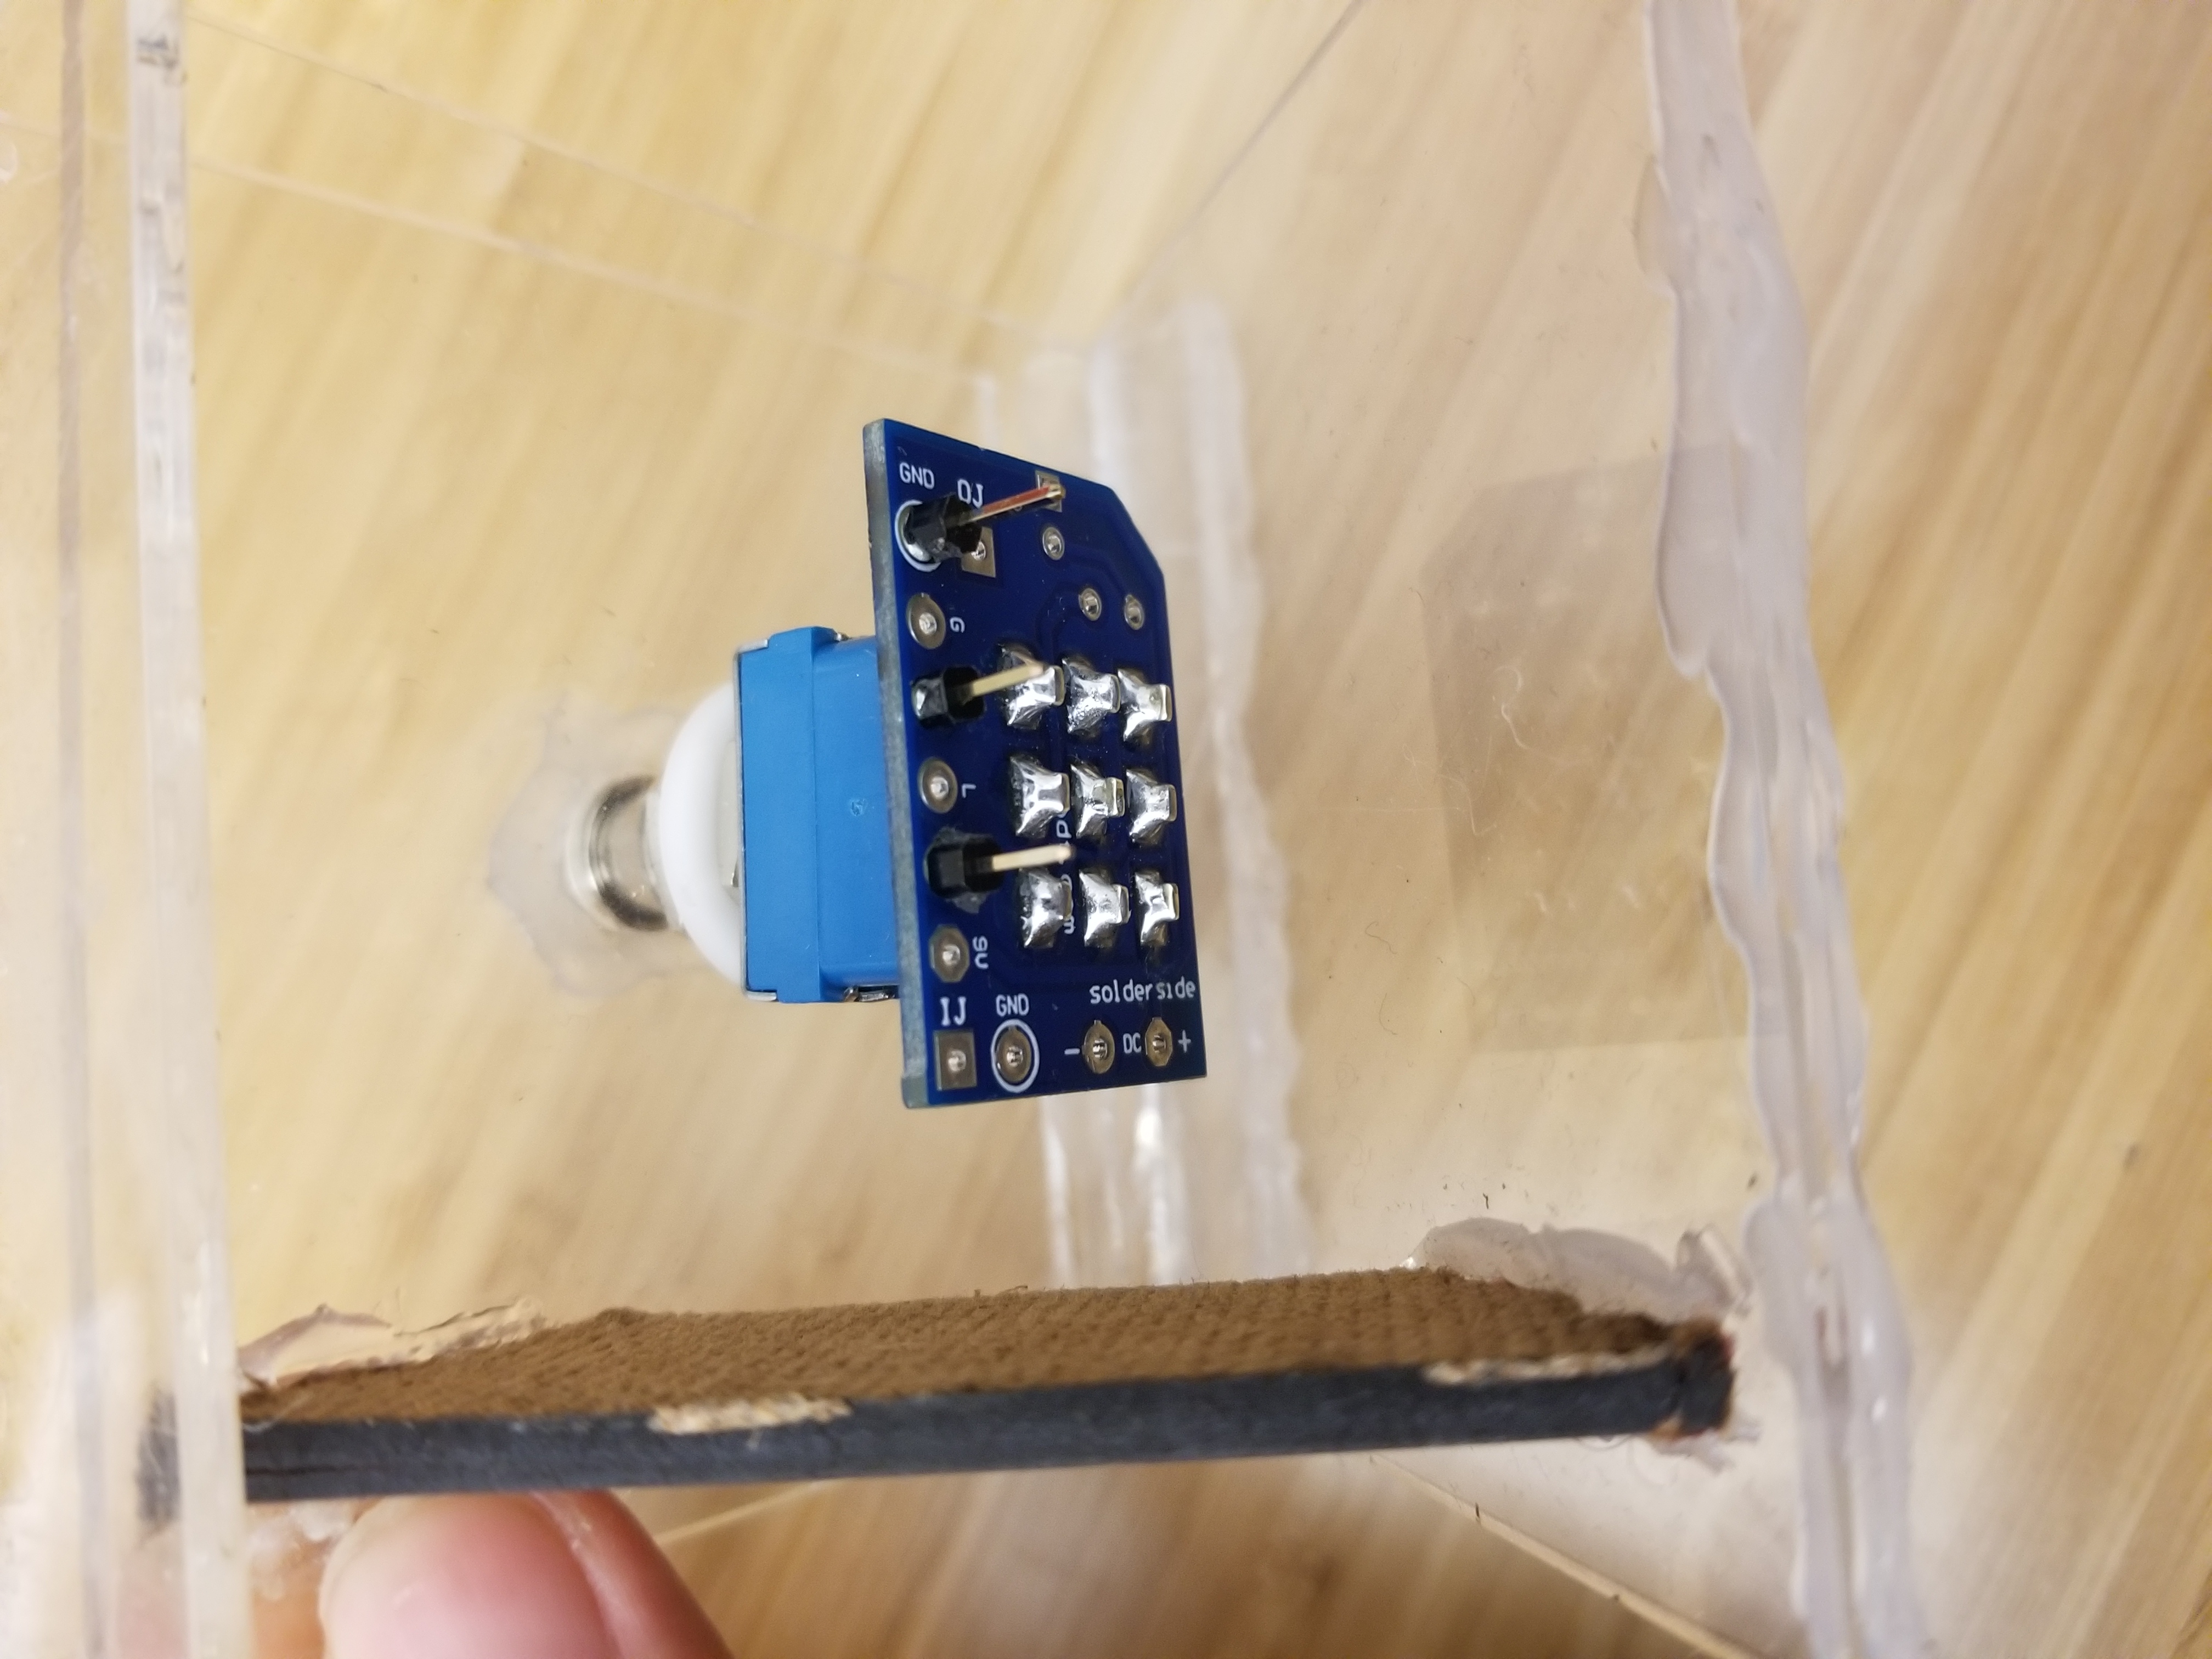
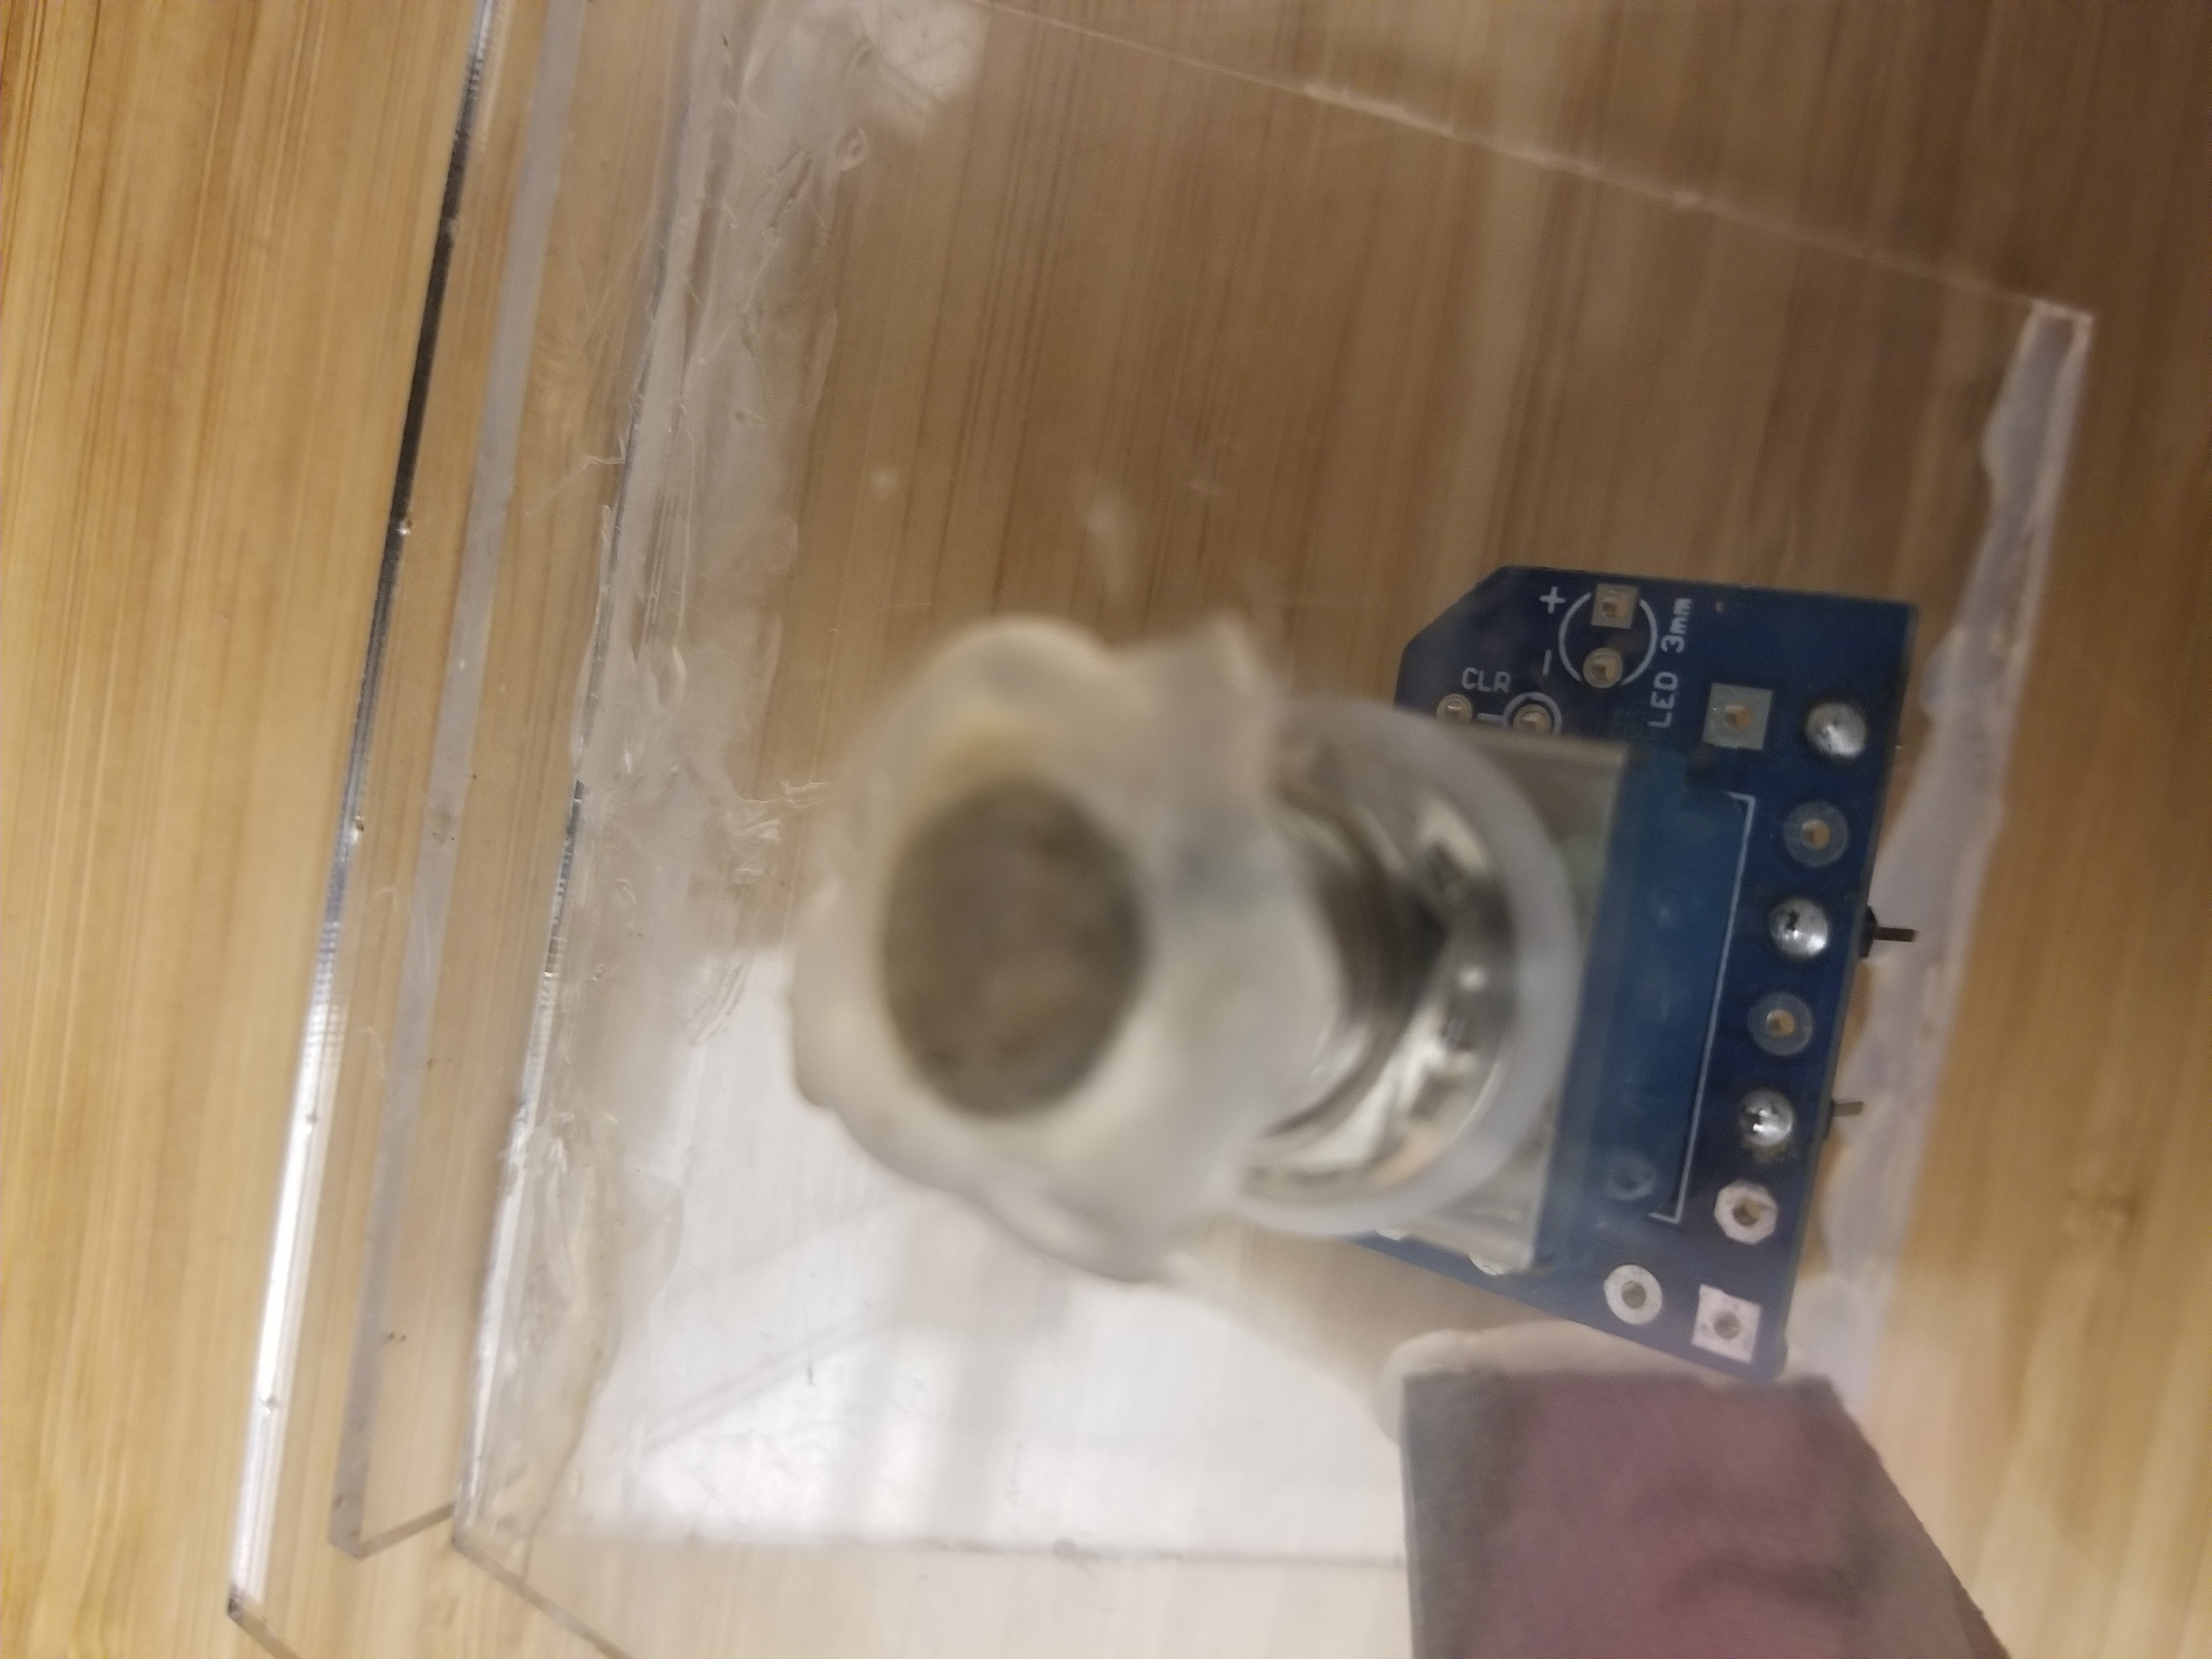
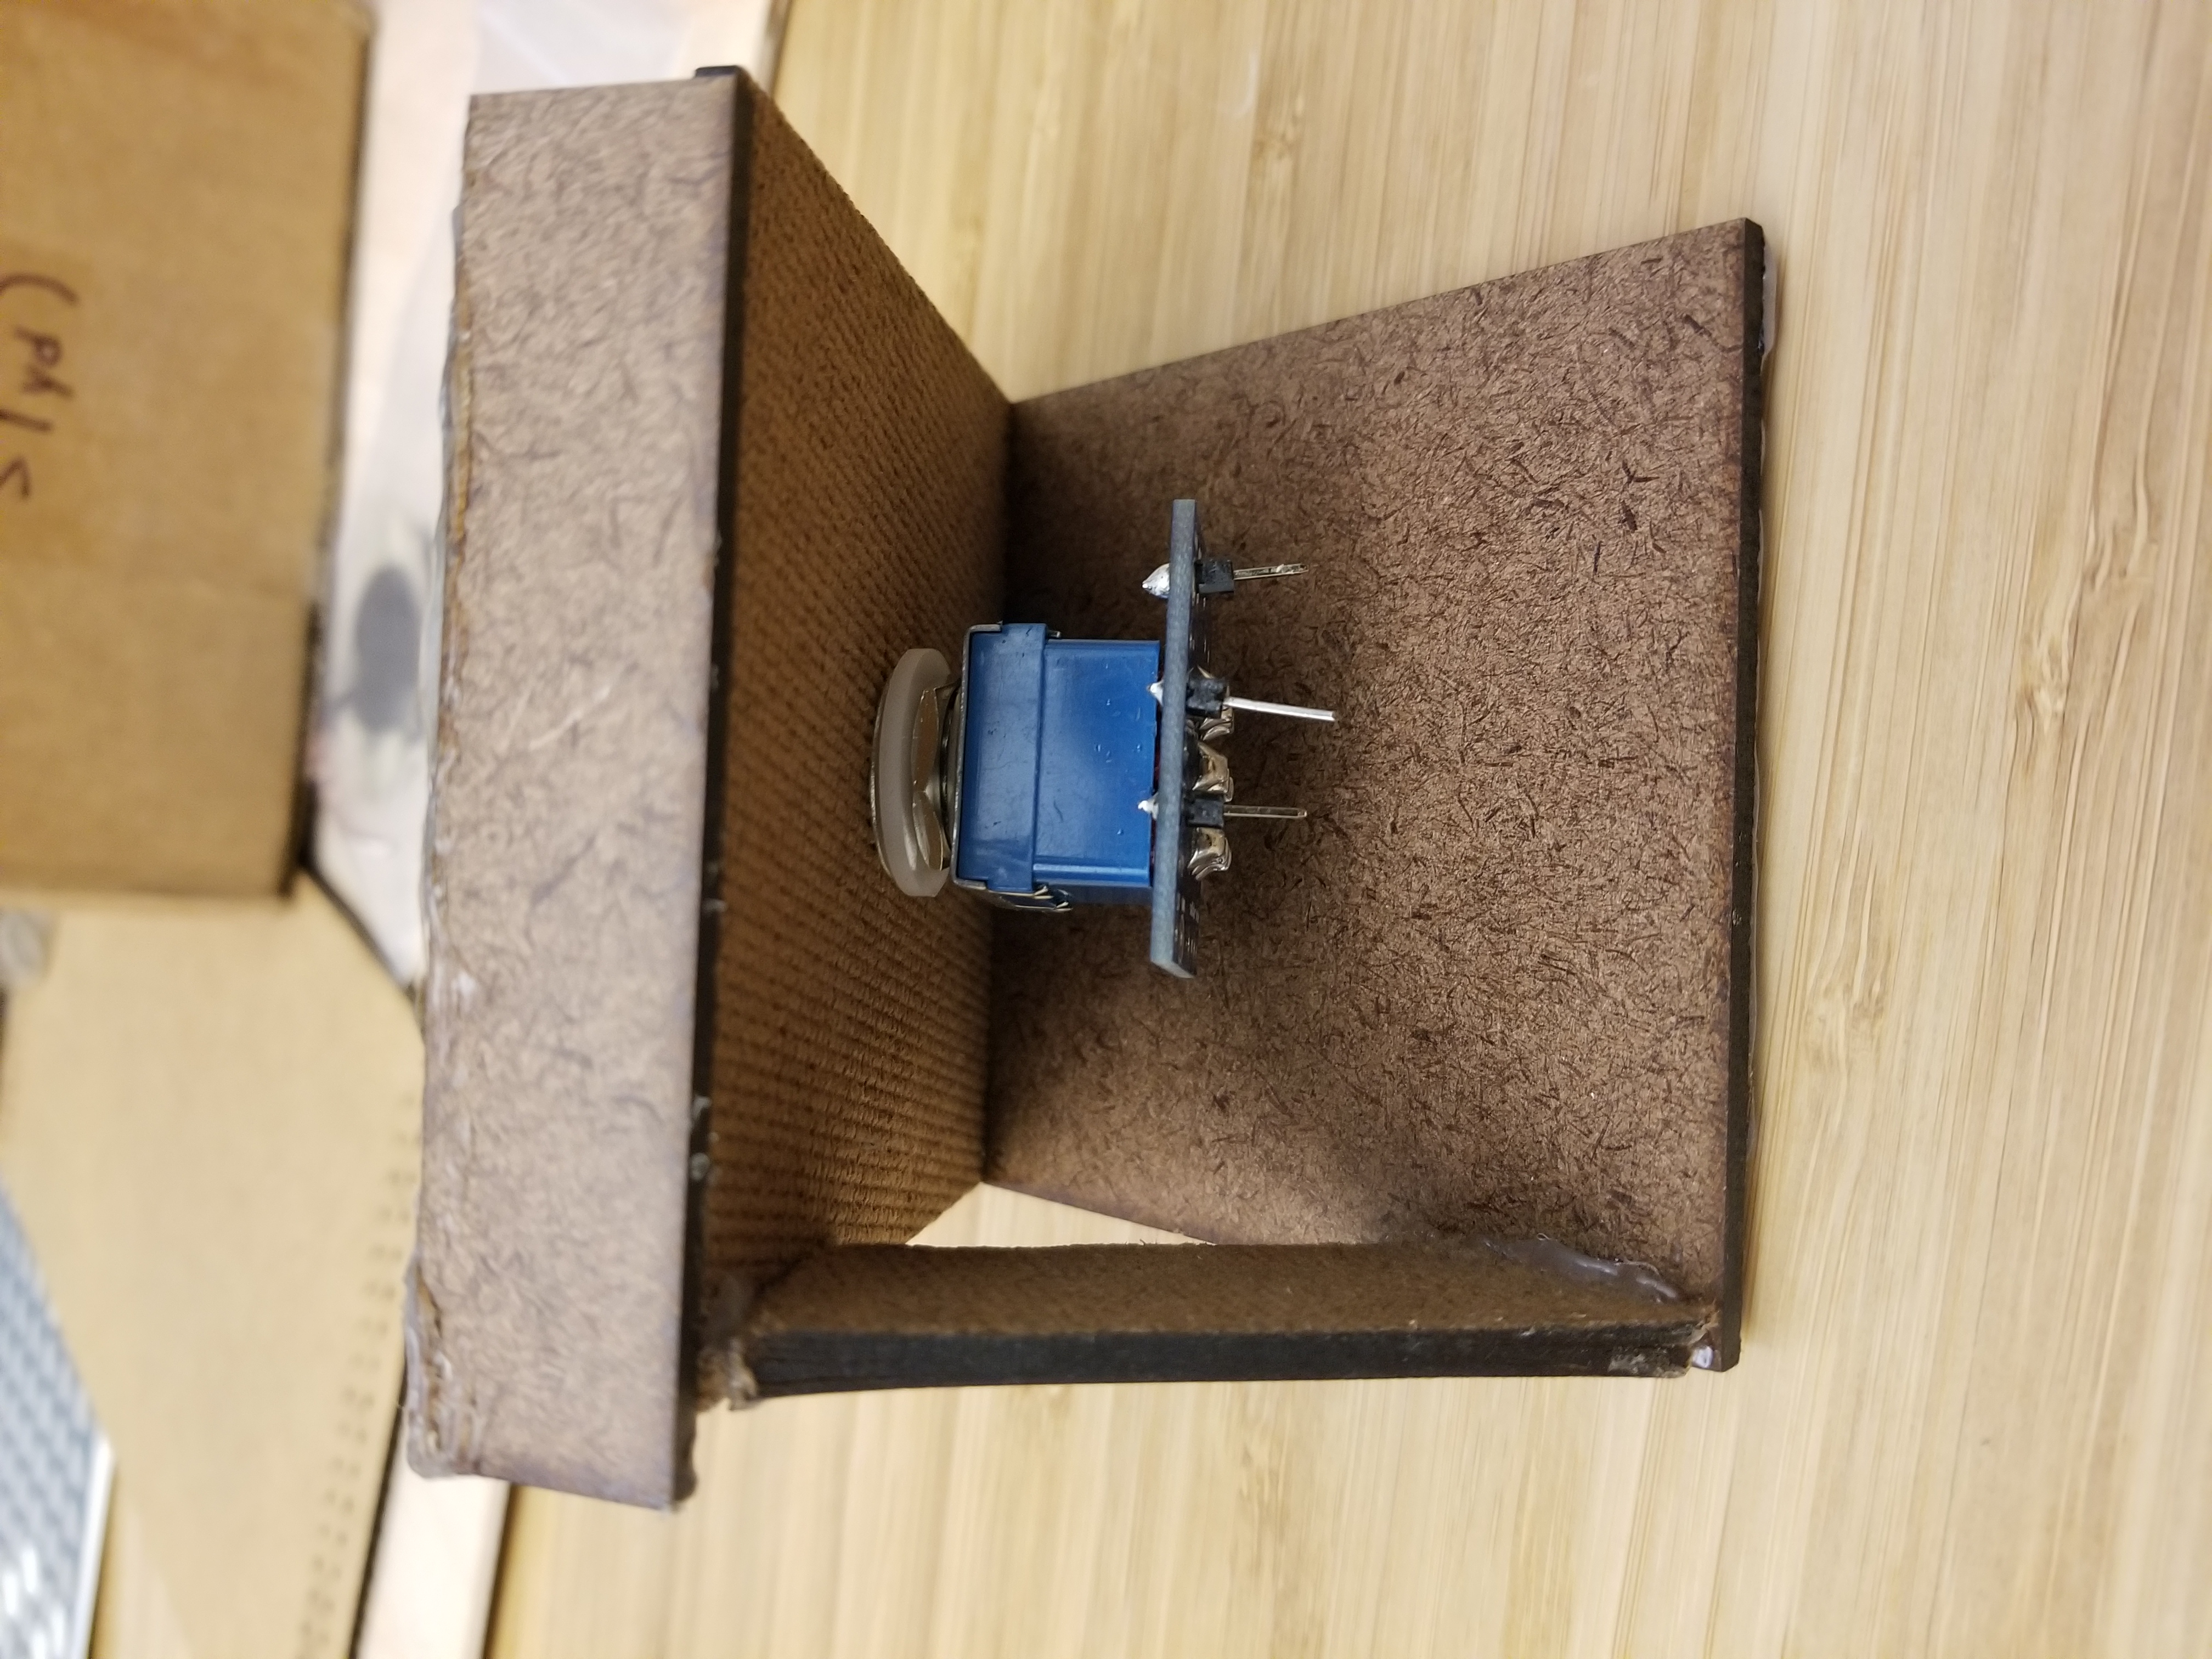
We ordered a set of stomp switches (similar part on Sparkfun), the same sort of switches used in DIY guitar pedals and circuit bending. The switches are 3PDT (three-pole double-throw) and are normally used to control a more complex circuit than this, but it was the first mechanical switch that came to mind for something durable enough to step on.


Essentially, our stripped-down wiring (only three of the leads were connected: VCC, GND, and OUT) turned the switch into a latching button. Step once, the button is ON or HIGH; step again, the button is OFF or LOW. Like a pen click. All three wires connected to the Raspberry Pi via some really long jumper wires, made possible by cutting our own from spools. The OUT pin went to one of the Pi’s GPIO pins to be read as input by the GUI software.
Assembly
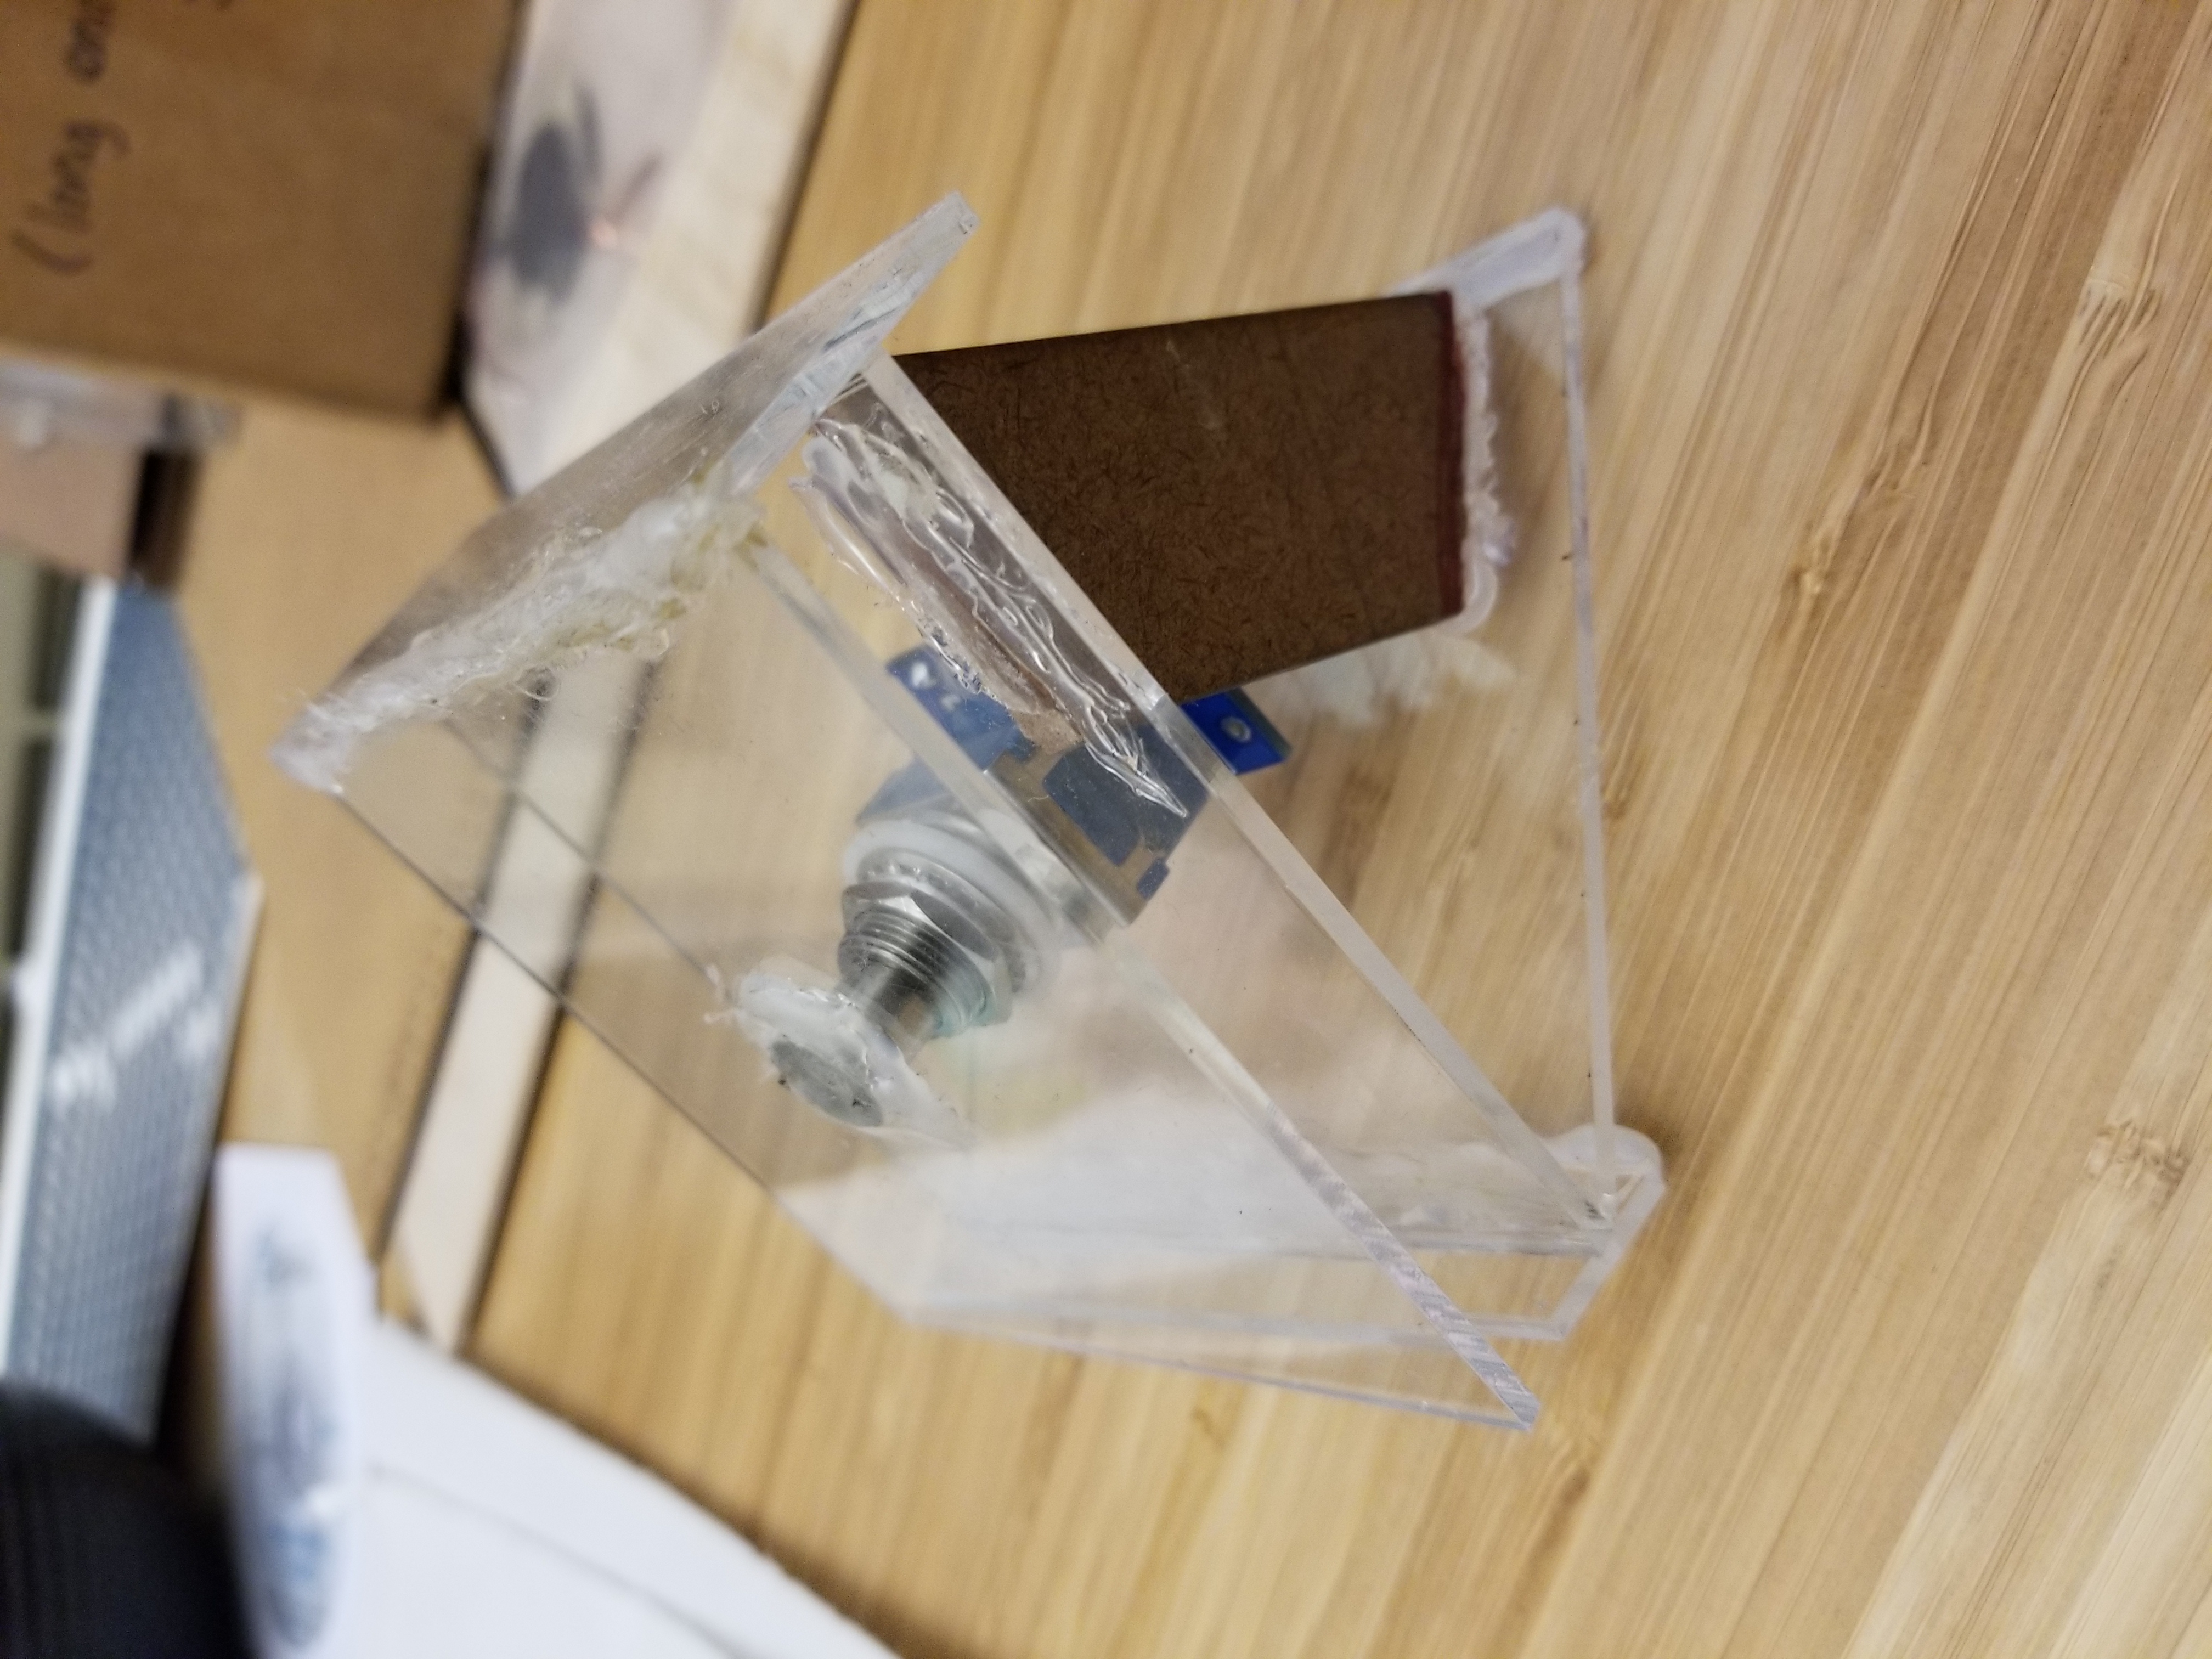
Again, mechanical design was really quick and dirty to get a minimally-viable first version. We laser-cut squares and rectangles of acrylic and MDF, along with a trapezoidal bracing piece, and hot glued them together. Mismatched pedals with visible hot glue seams – the lo-fi prototype aesthetic is real. Each pedal is approximate 4”/10cm square.
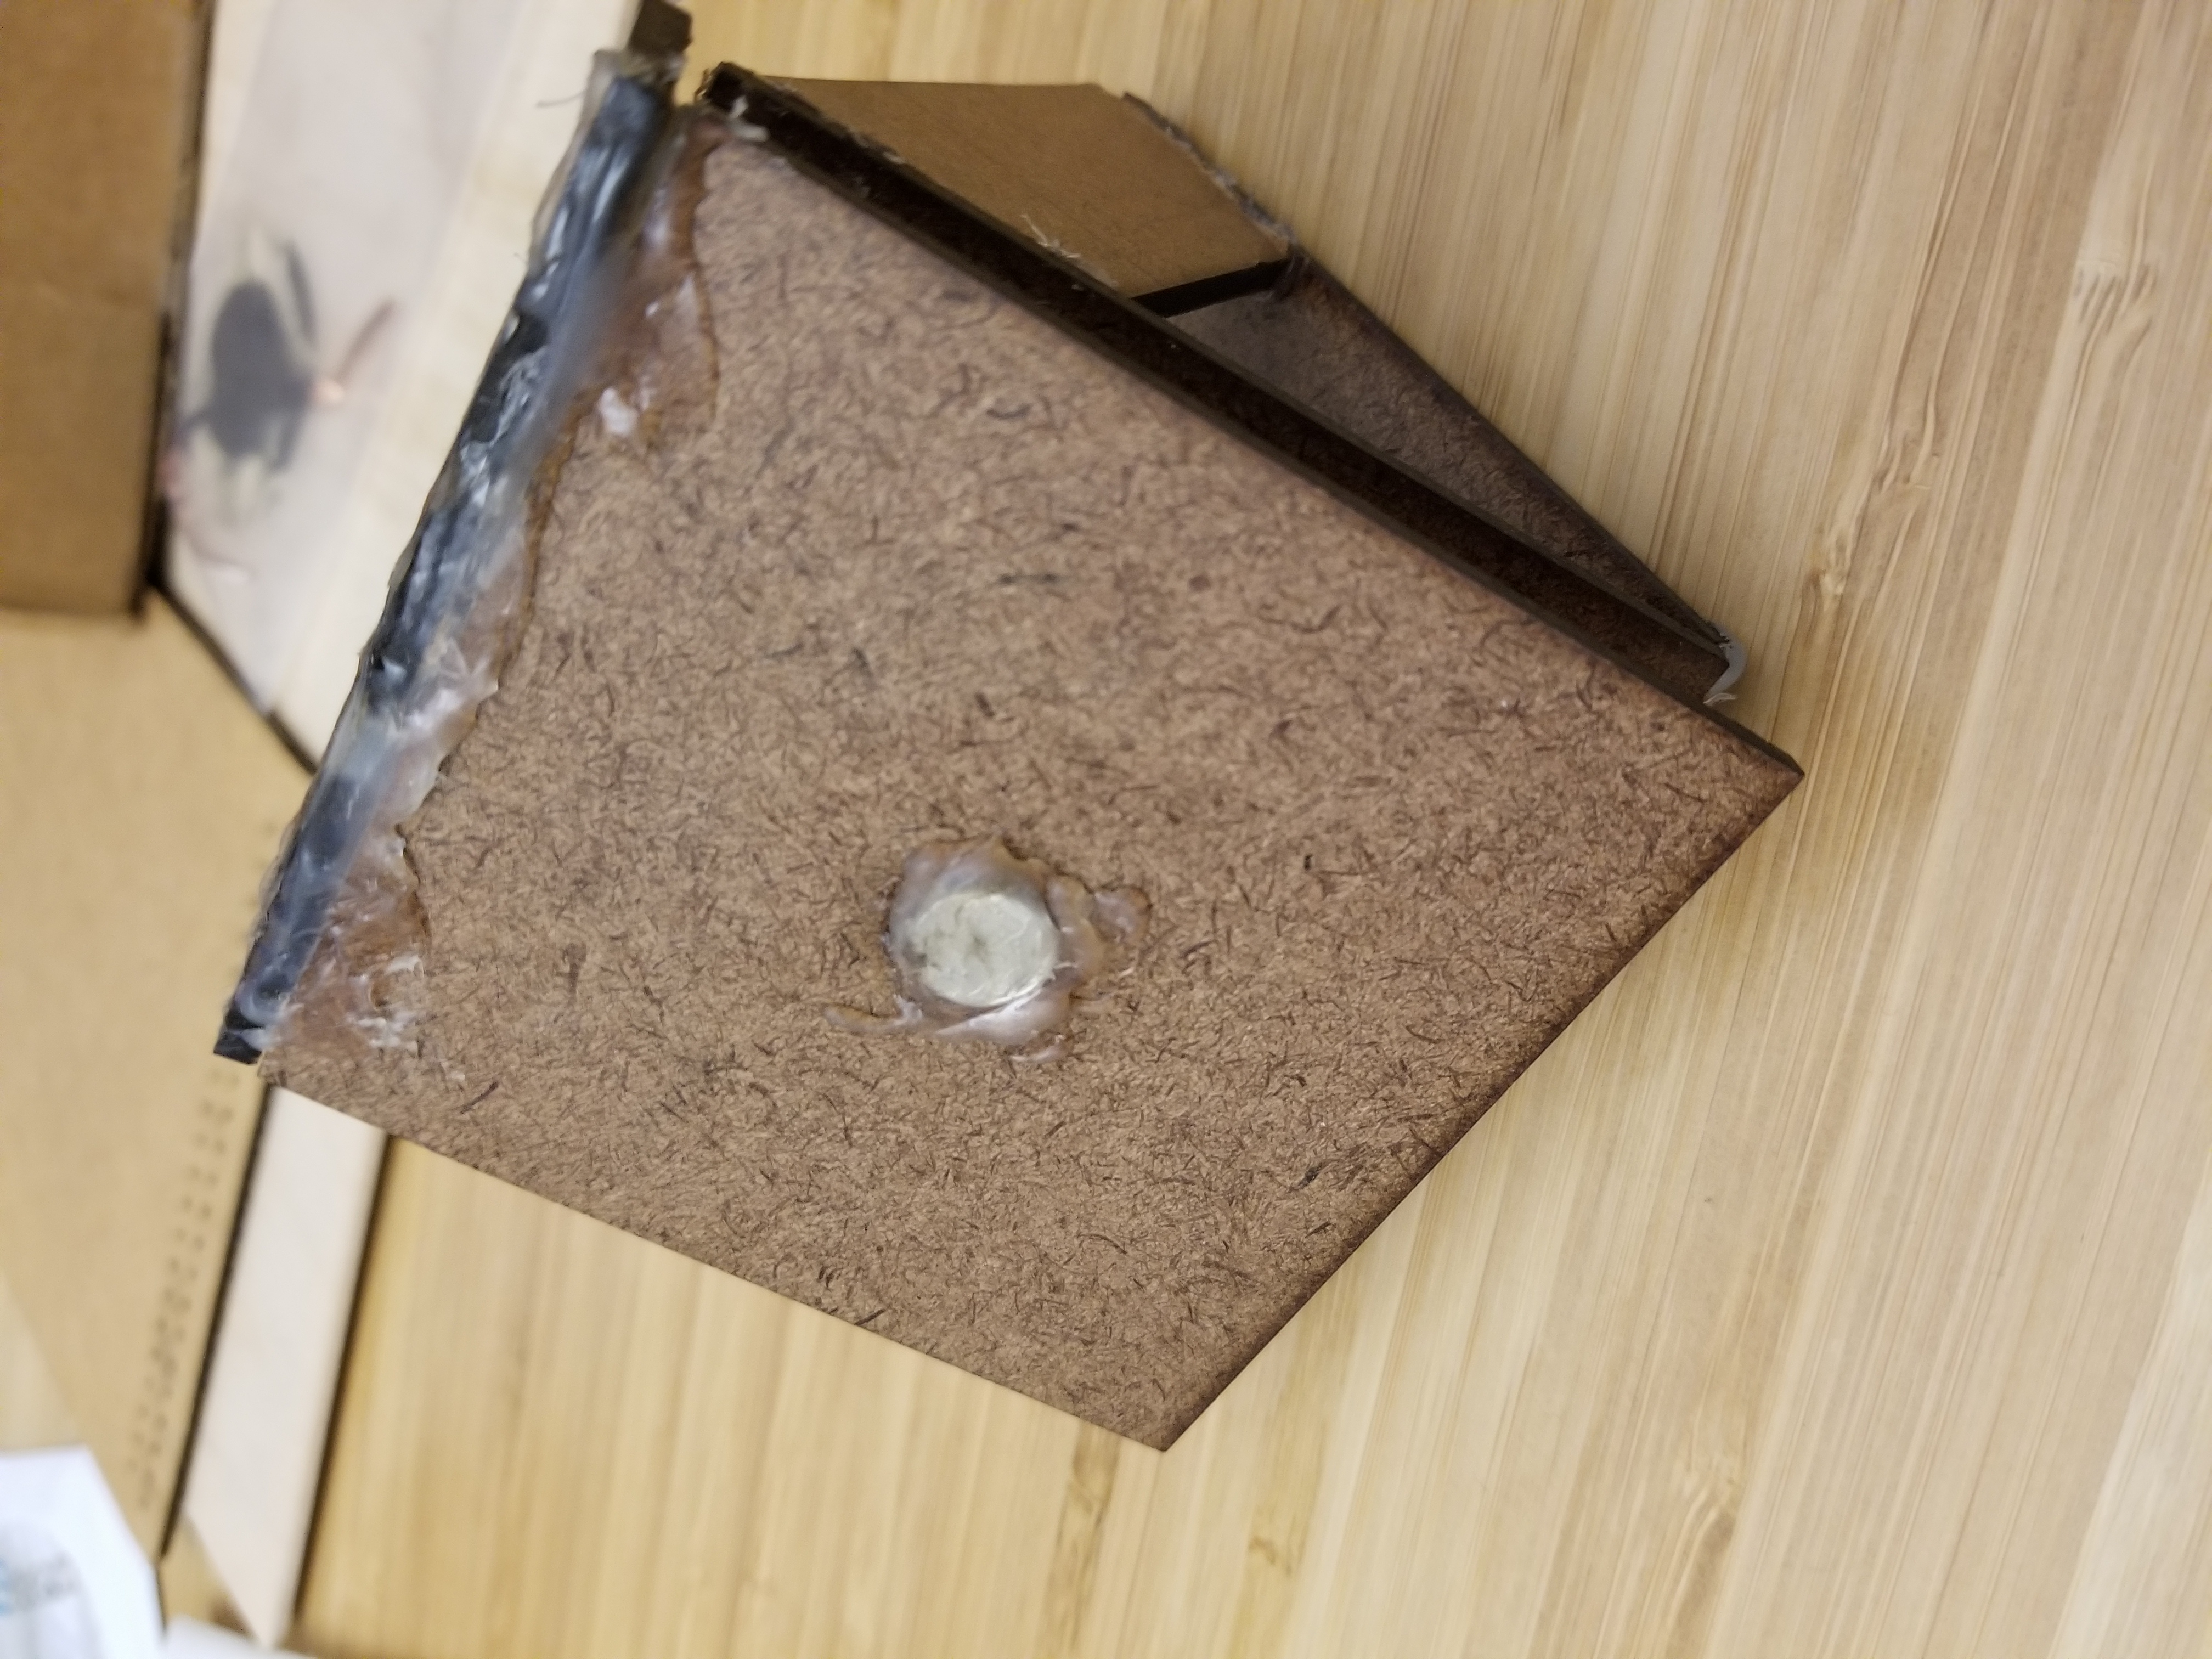
The pedal base is formed from two of the 4” squares, with the top piece held at an angle (approx. 45 degrees) by the brace. The top piece has a hole in the center where the stomp switch base sits, secured by washers. As a bonus, we found that the angled base gave easy access to the switch wiring.
The actuating top piece of the pedal, the part that moves when the user steps on it, uses an identical square as the base to give enough surface area for a foot. Without a top plate, the stomp switch is much harder to press, and since many of us in the lab like operating the loom barefoot or in socks, users might not like stepping on a rigid metal nub repeatedly. The top plate also has a hole for the button of the switch to be securely attached.

We found the top plate to be fairly wiggly since the stomp switch’s button can freely twist. So the last part of the pedal was a narrow rectangular plate attached to the top plate, which kept the top plate aligned with the base.
Improvements to Make
Obviously, there’s a lot we can refine from the first version. As far as improving the “floating top plate” assembly of this version:
- Brace both sides, not just one.
- More securely attaching the switch to the laser-cut pieces.
However, I’d be interested in building an actual foot switch like the current TC2 pedal, which is identical to a sewing machine pedal. The top plate would be on a hinge, making it easier for the user to press gently.