Shanel Wu
They/them. PhD student: smart textiles, weaving, computational craft, hardware hacking.
Repairing a Micro-USB plug
by S
WARNING: tech gore.
[head-on shot of fixed plug here]
This micro-USB plug was attached to the only proper Raspberry Pi power supply (5V/2.5mA) in the lab, and I had ordered more, but they were held up in the university mailroom. I needed the Raspberry Pi online over the weekend, so I spent an afternoon literally fixing the plug with trash and hot glue.
Diagnosing
Process of elimination:
- The power adapter box seemed to be working, since the green light was on when I plugged it into an outlet.
- I knew the Pi was working because it powered on with a non-ideal power supply (5V/2mA, a phone charger). It did complain about undervoltage, which is why I needed the higher-power adapter.
- I plugged the power adapter into another micro-USB device that I wasn’t too worried about killing with too much current (my cheap Bluetooth headphones that charge through USB), and that didn’t work. The adapter’s USB plug (the metal bit) wiggled an alarming amount in the plastic housing, so I was pretty sure the plug itself was the problem.
- To check that it was indeed the plug, and not a break somewhere in the cable, I cut the cable close to the plug and stripped the wires in the cable. (red and white, which told me that this was purely a power connection and I wouldn’t have to worry about repairing more sensitive data connections) I plugged the adapter into an outlet and stuck a multimeter on the two exposed wires (I am NOT a good example of electrical safety, please go elsewhere for that) to confirm that the adapter was able to deliver a consistent 5V and 2.5mA current through the cable.
Repairing
1. Deconstructing
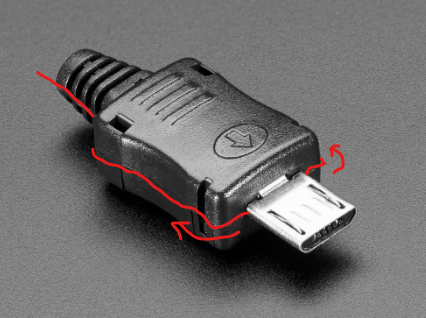
I used an exacto knife to dissect the cut-off plug. It’s actually a lot like dissecting an earthworm, if anyone else did that in high school/middle school biology. The plastic housing of the plug requires some force to remove. But from my experience dissecting other cable connectors during Unfabricate, most of these housings should be a shell around a smaller metal/plastic connector component. So I cut the plug along the seam (see picture below) to expose that core.
Once I removed the core connector, the whole piece snapped off at the solder joints and some of the other metal bits in the plug seemed pretty worn.
2. Soldering
A micro-USB plug generally has 5 pins in it, with the rightmost being 1.

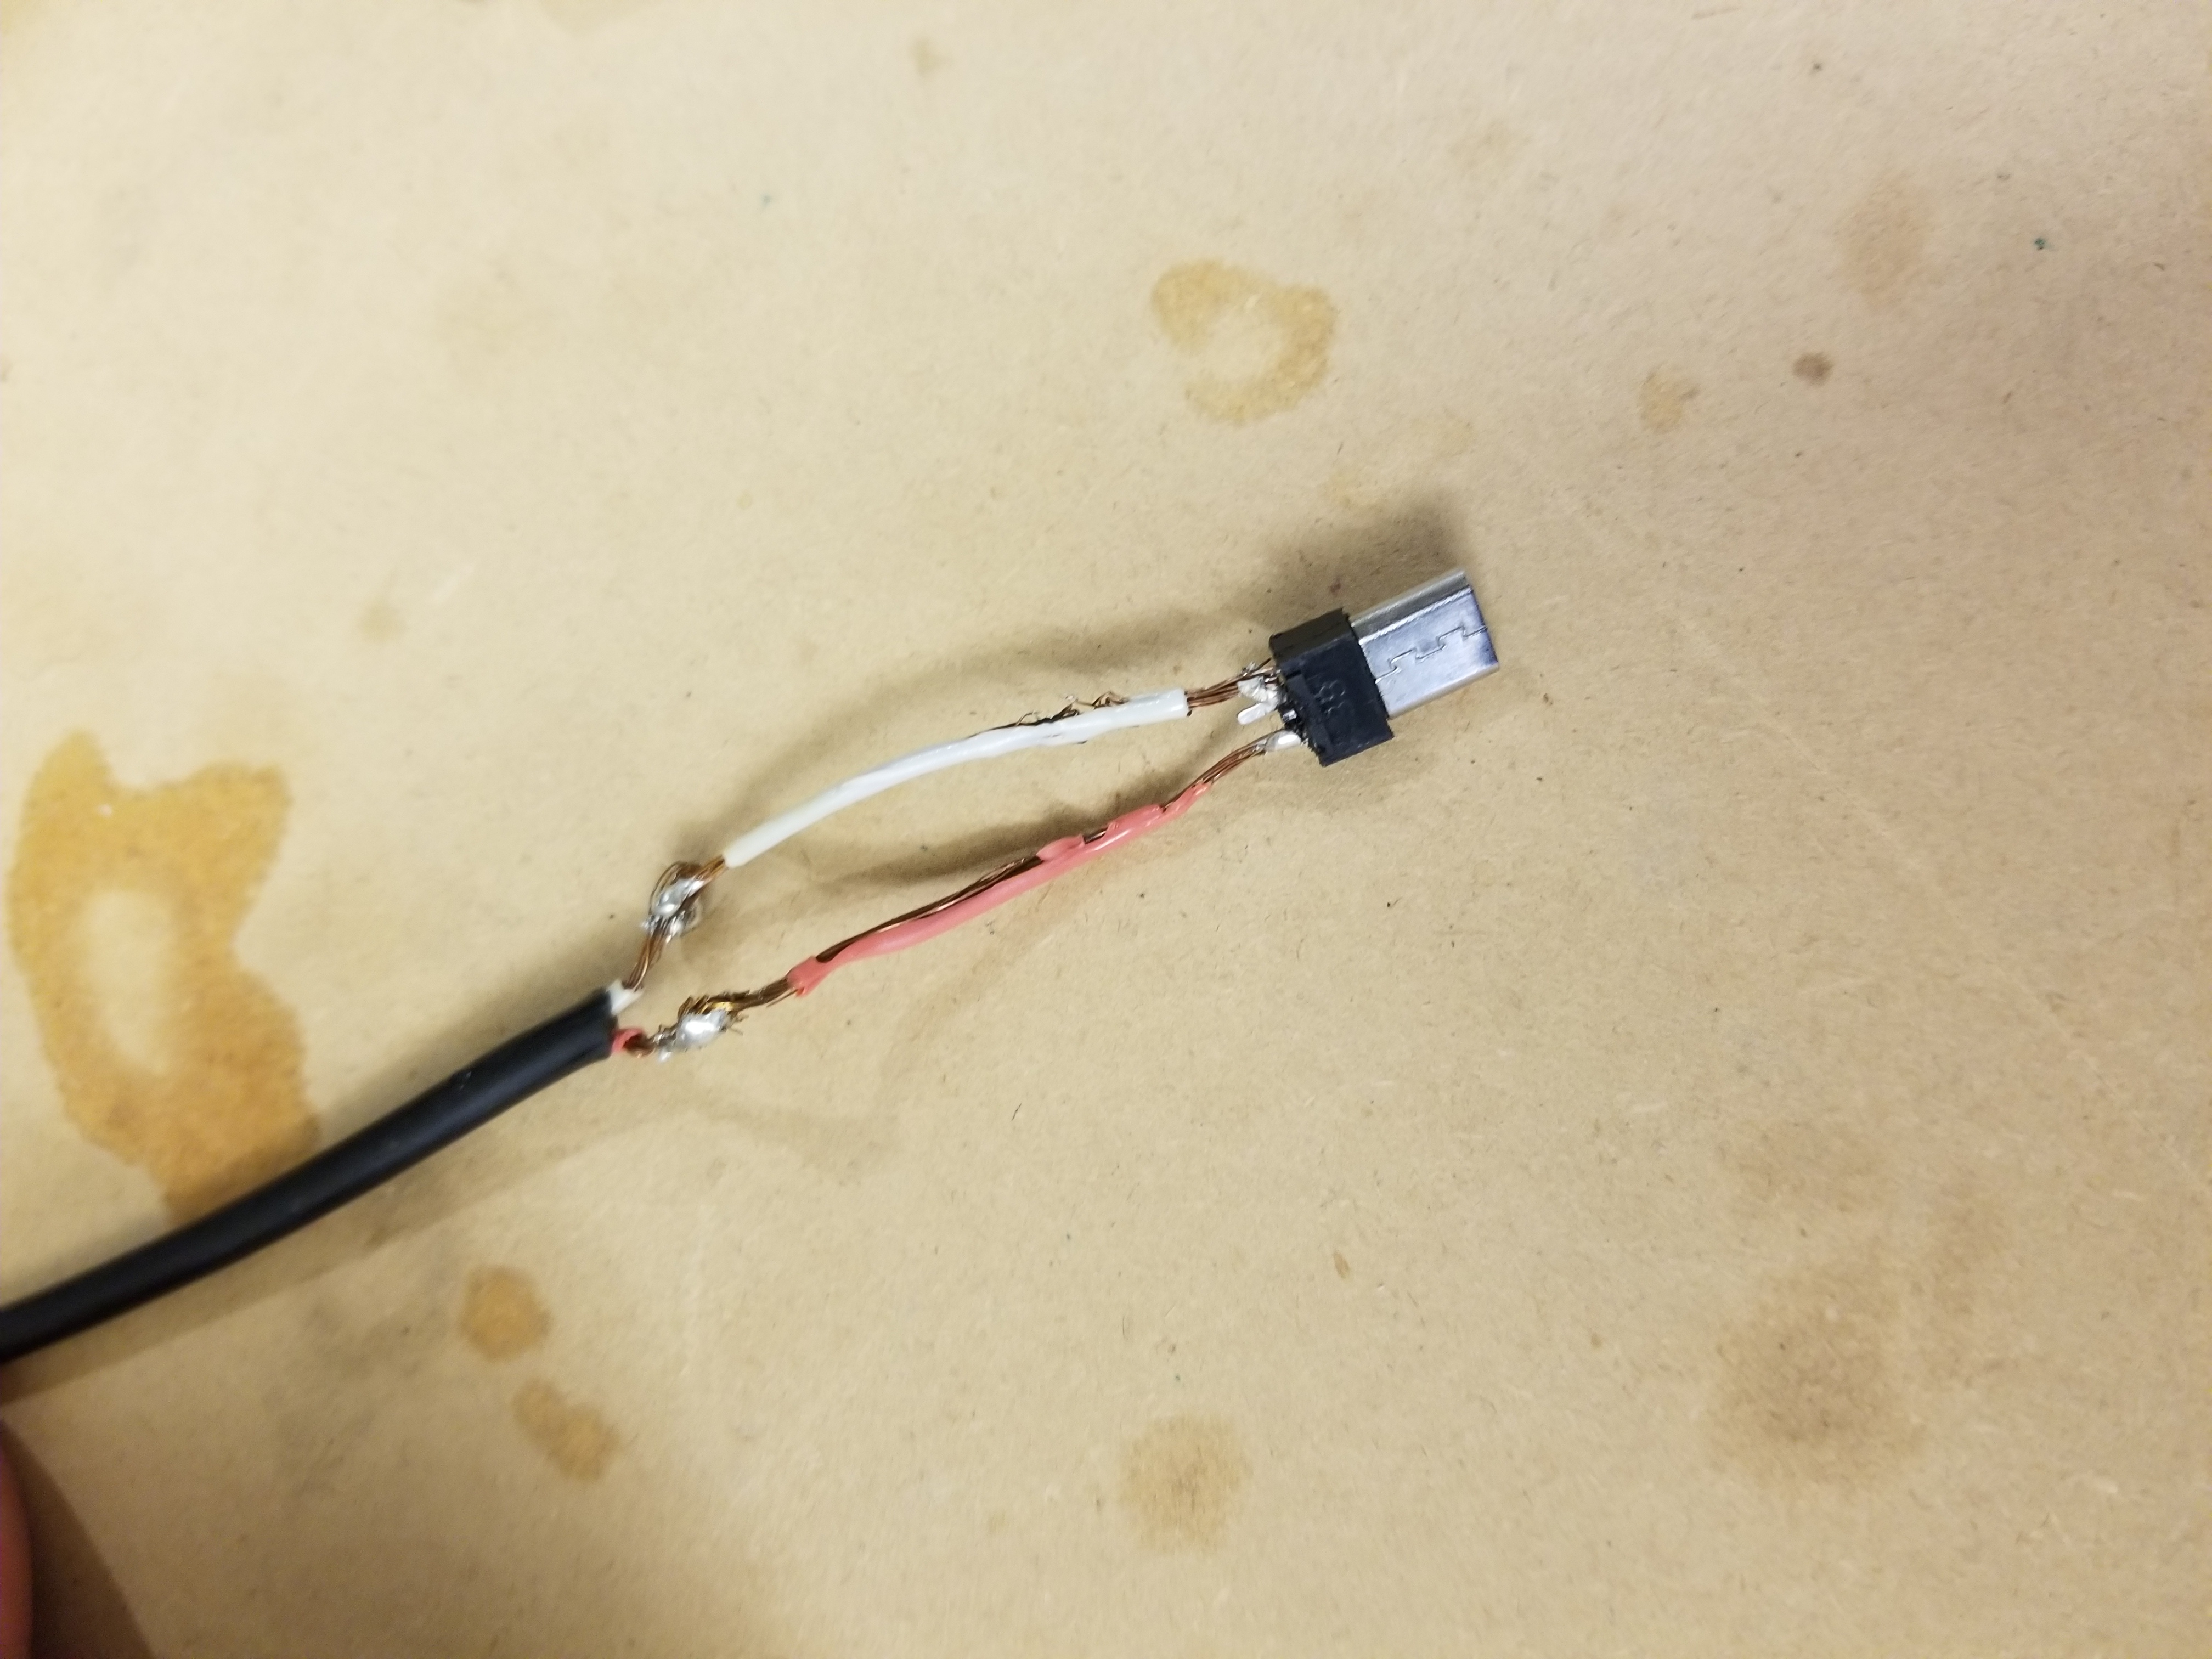
Since the back part of the connector wasn’t useful anymore, I removed it to expose the back of those pins. I used the multimeter one more time on the pins (one probe on the back metal piece, one probe on the pin inside the plug) to make sure I had both ends of the correct pin. I made two really small solder connections, just a tiny dab of solder on each to stick down all the strands of the cable wires.
Soldering stranded wire is the bane of my existence. When soldering the cut ends of the wire back together, I found it helpful to strip extra length (a little more than half an inch / 2cm), so that I could fan out the strands on each end, interleave them like when you intertwine your fingers, and fold the ends over. Then over this folded region of the wire, I soldered the clump until it was a solid bead.
Reconstructing the plug housing
Since my new solder joins were much bulkier than the original wiring, I needed to build a bigger shell to protect the wires from breaking at those joins. Luckily, my lab had a box of plastic fake nails (the kind you glue on your fingernails) from an previous research project. I took a heat gun and melted them onto the plug like scales. The nails didn’t totally melt together to form with each other, so I alternated a bit of heat shrink with each plastic nail layer.
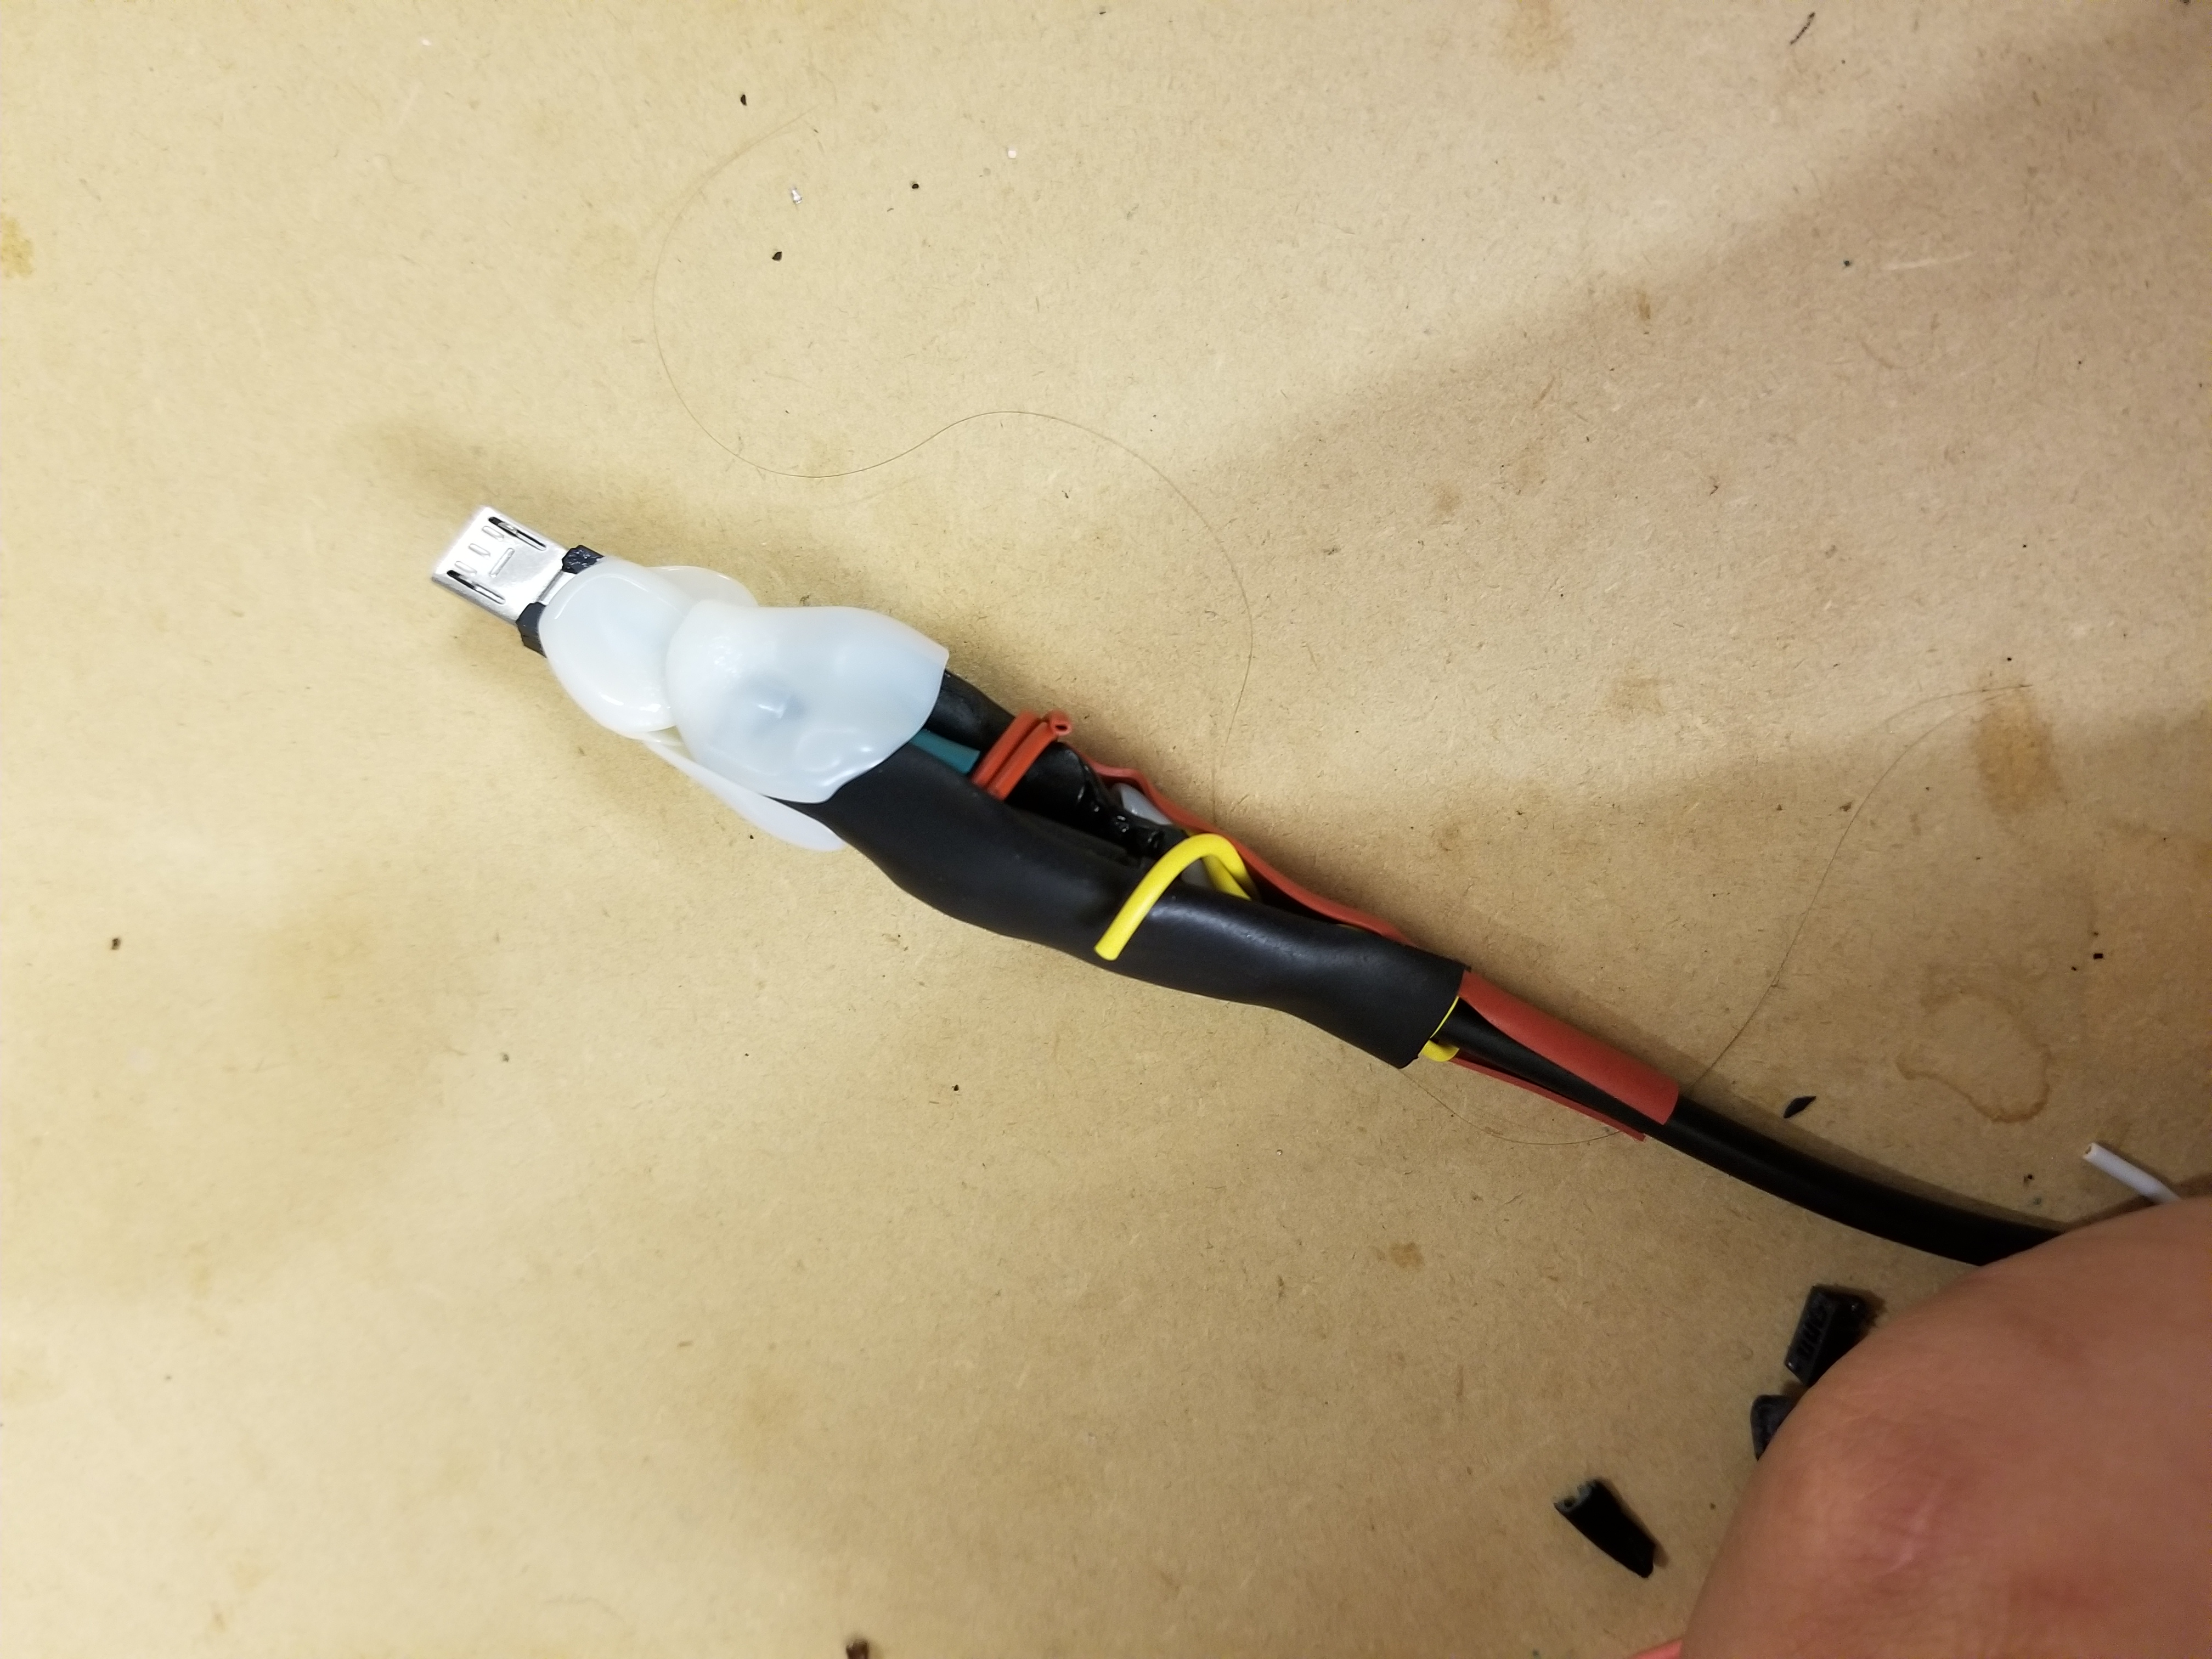
It’s gorgeous, no? To cap off this horror, I encapsulated the now-rigid plug with more heat shrink and sealed it with hot glue.
